Sign In
Sign-Up
Welcome!
Close
Would you like to make this site your homepage? It's fast and easy...
Yes, Please make this my home page!
No Thanks
Don't show this to me again.
Close
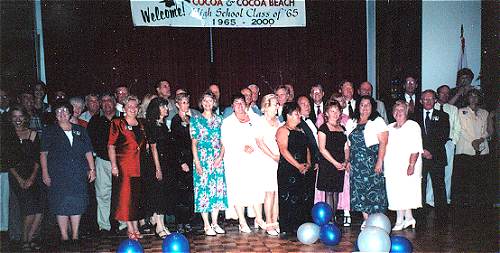
A Second Look at Group 1
Back to Photos, Page 7
Photo courtesy of
Robert Dewitt
Photo 109